Workspaces
Information is organized into various Workspaces. Each Workspace contains a pentest team's assignments and all the intel that is discovered.
The workspaces are used to hold the information re-collected from the different tools and/ or commands used in the "actions" for each Penetration Test. Each workspace integrates all the results from pentesters from a given project in the Web console allowing you to identify and manage your information in one place.
How to Manage Workspaces
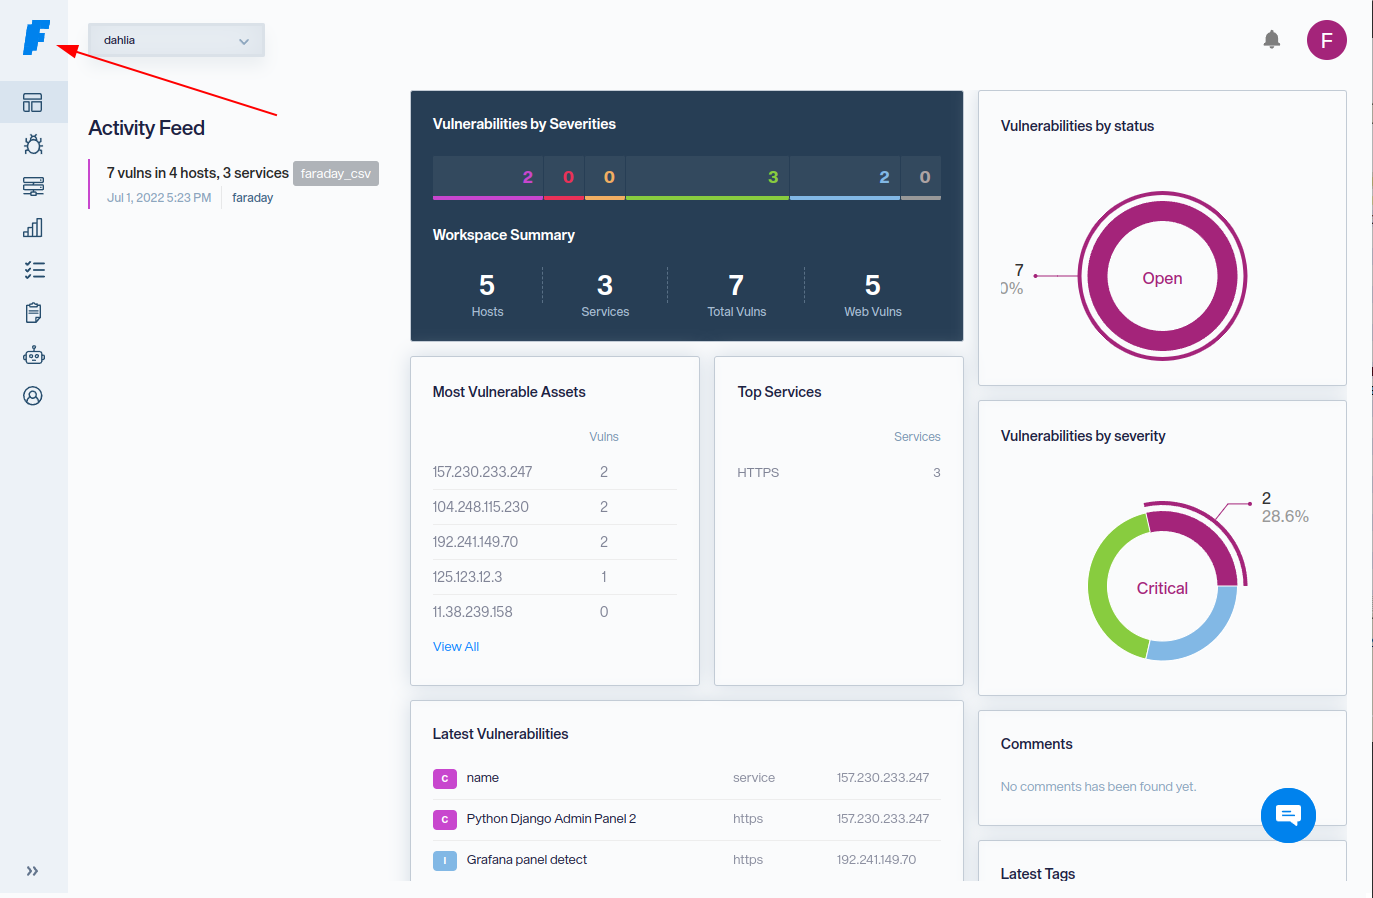
To manage your workspaces you need to access your Faraday Web UI and click on the Faraday Logo on the left top of the screen and then on Wokspaces
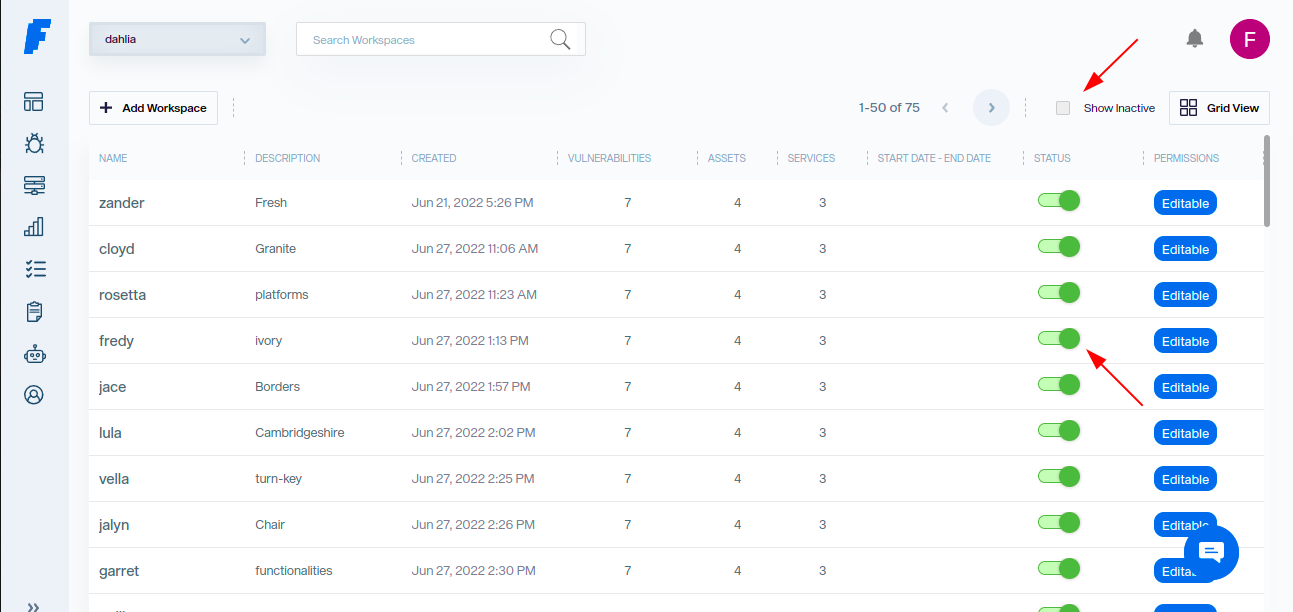
A list of workspaces and summary are displayed where you can create, edit or delete them

Create a Workspace
From the workspaces window click on + Add Workspace button and complete below
- Workspace Name
- Start Date/ End Date
- Description
- Make Workspace public (all users can see it)
- Assign Users

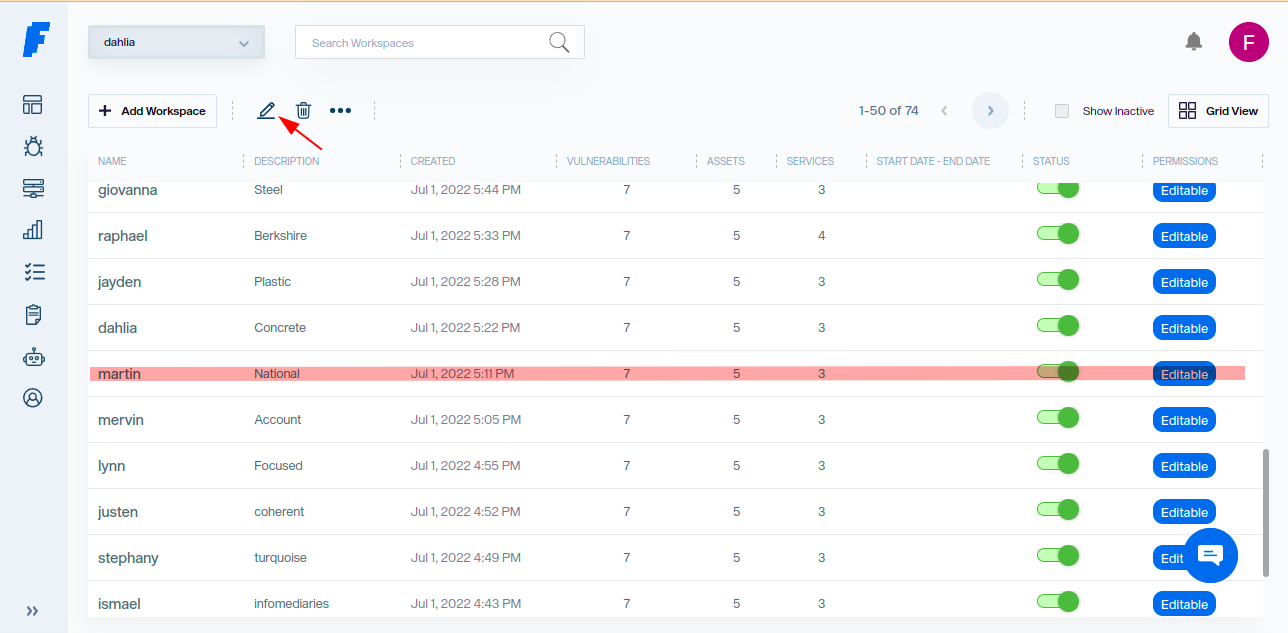
Edit a Workspace
From the workspace window select the workspace and click on Edit icon
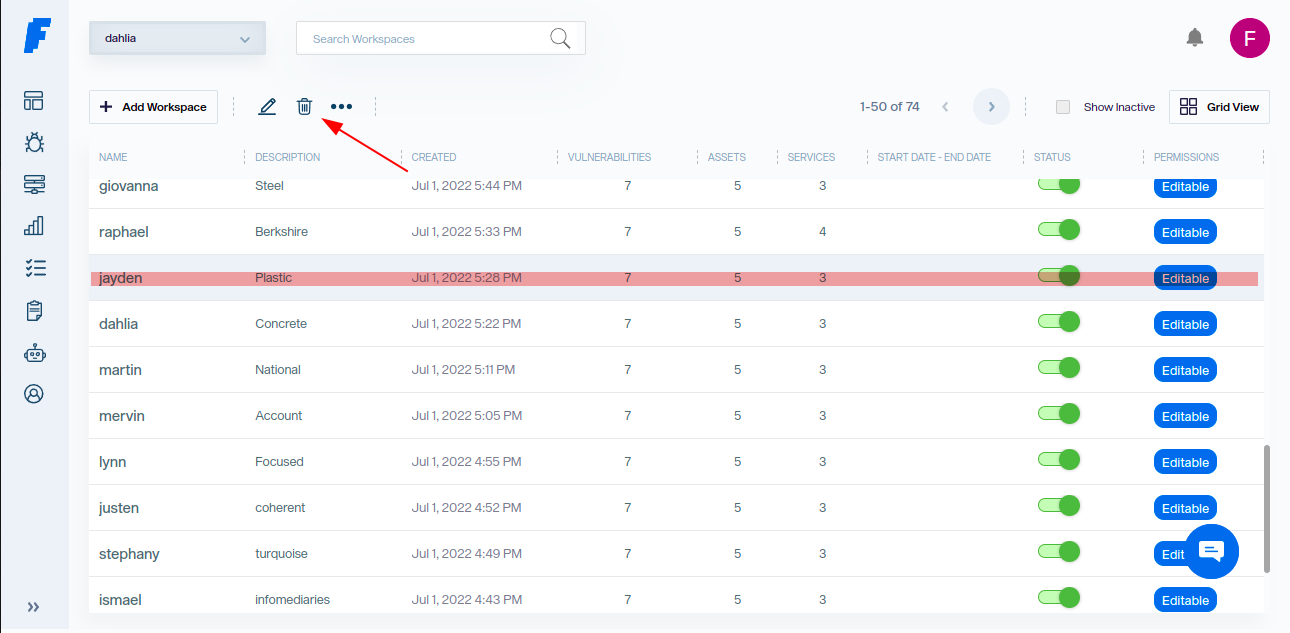
Delete a Workspace
From the workspaces window select the workspace and click on Delete trash icon
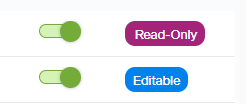
Read Only Workspaces
You can make a workspace READ ONLY from the Workspace View (padlock icon)
When the padlock icon is closed, the workspace became READ ONLY
Once a workspace is READ ONLY, you can't add/modify/delete Vulnerablities, Hosts or Services.
You need click on the padlock (padlock open) to put the Workspace in write mode
The amount of Workspaces allowed will depend on your license type, workspaces in READ ONLY state has not limits.
Active Workspaces
Note:
If you click on the green ACTIVE icon of a workspace, it will disapear from the list, basically making it Archived
You need to click Show archived to displayed them, click on ACTIVE icon again to work on them